

How To Create A Quick Action In Salesforce Lightning
In a user-centric world, we enable our users to do more by placing the right information in the right place at the right time. From the Summer '21 release, you can now invoke a custom Lightning Web Component on a record page using Quick Actions!
Today, I will give a high-level overview of the different types of Lightning Web Component Actions, provide a quick decision guide on when to use each action, and finish with a use case combined with a code walkthrough.
Types of LWC Actions
When it comes to record page Lightning Web Components there are two types: Screen Quick Actions and Headless Quick Actions.
Screen Quick Action
These allow users to carry out updates via a modal window, like filling a form to create or edit a new record.
Headless Quick Action
These allow you to carry out an action without the need to display, like navigating to another page or dispatching an event.
💡How do I know which I should use?

Use Case
Danielle is our awesome VP of Sales, when it comes to updating deals, she wants to ensure her sales team is laser-focused on updating the key fields to win deals faster! Currently, the team uses the Edit button, but she would like a smaller consolidated view.
Let's see how we can achieve this with an LWC Quick Action.
Solution
Using the lightning-record-edit-form component with lightning-input-field components we will create a mini form that captures the key fields for updates on an Opportunity. Lucky for us we can use the following template then tweak it for our use case.
Here is a quick breakdown of our changes to the LWC:
formfill.html
After speaking with Danielle, 'Amount', 'Next Steps' and 'Stage' are the three key fields that the team are constantly updating, so we add these fields as inputs. Let's add 'Opportunity Name' as an Output as well, just for the visual.
<template>
<lightning-quick-action-panel header="Edit Fields Action">
<lightning-record-edit-form record-id={recordId}
object-api-name={objectApiName}
onsuccess={handleSuccess}>
<lightning-output-field field-name="Name"></lightning-output-field>
<lightning-input-field field-name="Amount"></lightning-input-field>
<lightning-input-field field-name="NextStep"></lightning-input-field>
<lightning-input-field field-name="StageName"></lightning-input-field>
<lightning-button variant="neutral" label="Cancel"></lightning-button>
<lightning-button variant="brand" class="slds-m-left_x-small" label="Save" type="submit"></lightning-button>
</lightning-record-edit-form>
</lightning-quick-action-panel>
</template>
formfill.js
For our .js file we will keep it the same and update the message.
import { LightningElement, api } from 'lwc';
import { ShowToastEvent } from 'lightning/platformShowToastEvent';
import { CloseActionScreenEvent } from 'lightning/actions';
export default class FormFill extends LightningElement {
@api recordId;
@api objectApiName;
handleSuccess(e) {
// Close the modal window and display a success toast
this.dispatchEvent(new CloseActionScreenEvent());
this.dispatchEvent(
new ShowToastEvent({
title: 'Success',
message: 'Opportunity Record Updated!',
variant: 'success'
})
);
}
}
Defining a Lighting Web Component for a Quick Action
To use a Lightning web component as a Quick Action, we need to define the component's metadata. In our use case we created a screen Quick Action so we have set our lightning__RecordAction target and specify our actionType as ScreenAction.
<?xml version="1.0″ encoding="UTF-8″?>
<LightningComponentBundle xmlns="http://soap.sforce.com/2006/04/metadata">
<apiVersion>52.0</apiVersion>
<description>Formfill</description>
<isExposed>true</isExposed>
<masterLabel>Formfill</masterLabel>
<targets>
<target>lightning__RecordAction</target>
</targets>
<targetConfigs>
<targetConfig targets="lightning__RecordAction">
<actionType>ScreenAction</actionType>
</targetConfig>
</targetConfigs>
</LightningComponentBundle>
Let's Create our Quick Action
As we are creating this action for the Opportunity Record Page, it is an object-specific action.
- Navigate to the Opportunity Object in Setup
- Under Button, Links and Actions
- Create a new Action
Let's fill out the detail:

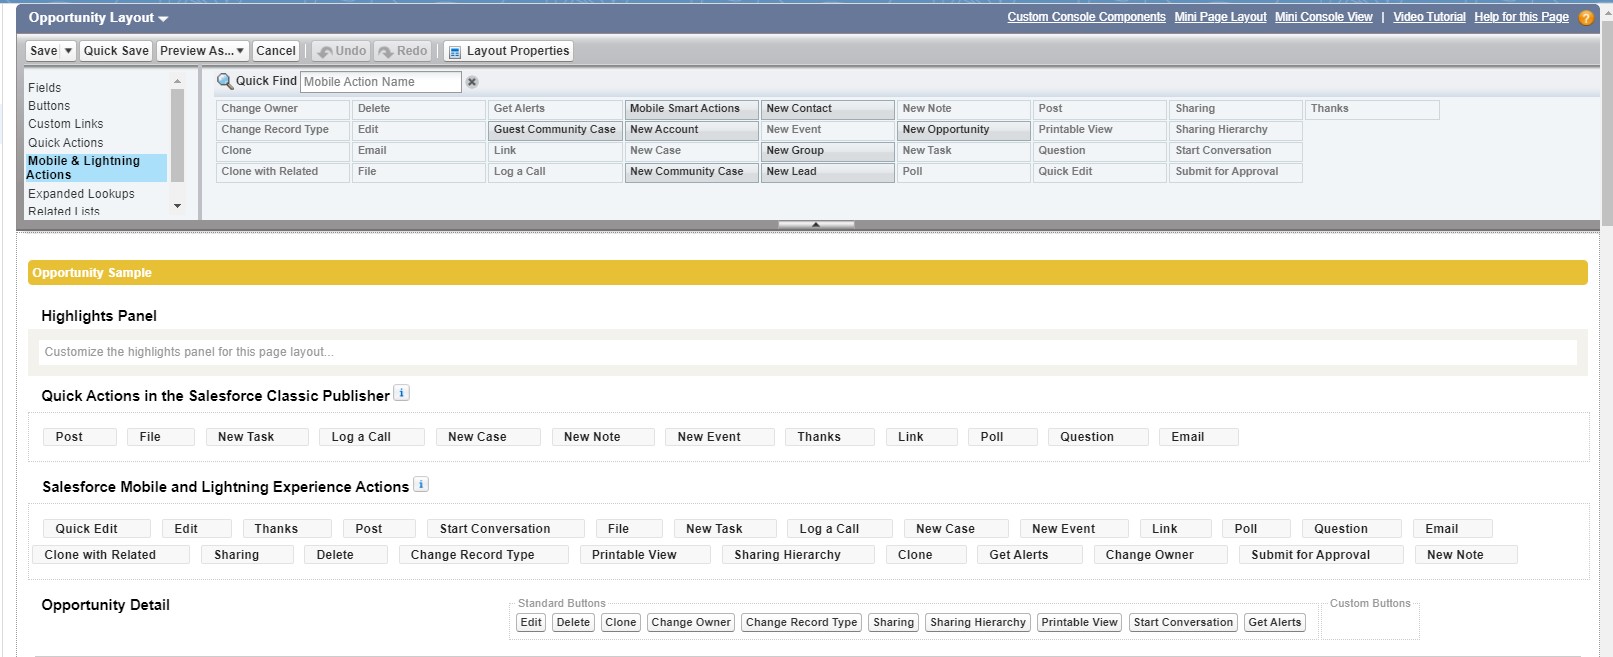
Then add to our page:
Now let's see it in Action:

…and voila , Danielle is happy and so are we!
Resources
- Create Quick Actions with Lightning Web Components (Generally Available)
- Quick Actions
- Create an Object-Specific Quick Action
How To Create A Quick Action In Salesforce Lightning
Source: https://www.salesforceben.com/create-lightning-web-components-lwc-using-quick-actions/
Posted by: cochranhaustrand.blogspot.com
0 Response to "How To Create A Quick Action In Salesforce Lightning"
Post a Comment