

How To Draw Smoke In Illustrator
In this tutorial you volition learn how to create a translucent vector smoke, combining WidthScribe tools with native Illustrator's features. WidthScribe successfully works with any vector matter, even with such light and ghostly ane as a smoke…
Footstep 1
Create a semi-transparent background consisting of gray squares that are bundled in a checkerboard design. On peak of the checkered groundwork place a foursquare with a black and white slope fill and apply the Multiply blending mode to the object.

At present we can starting time creating a vector smoke.
Step 2
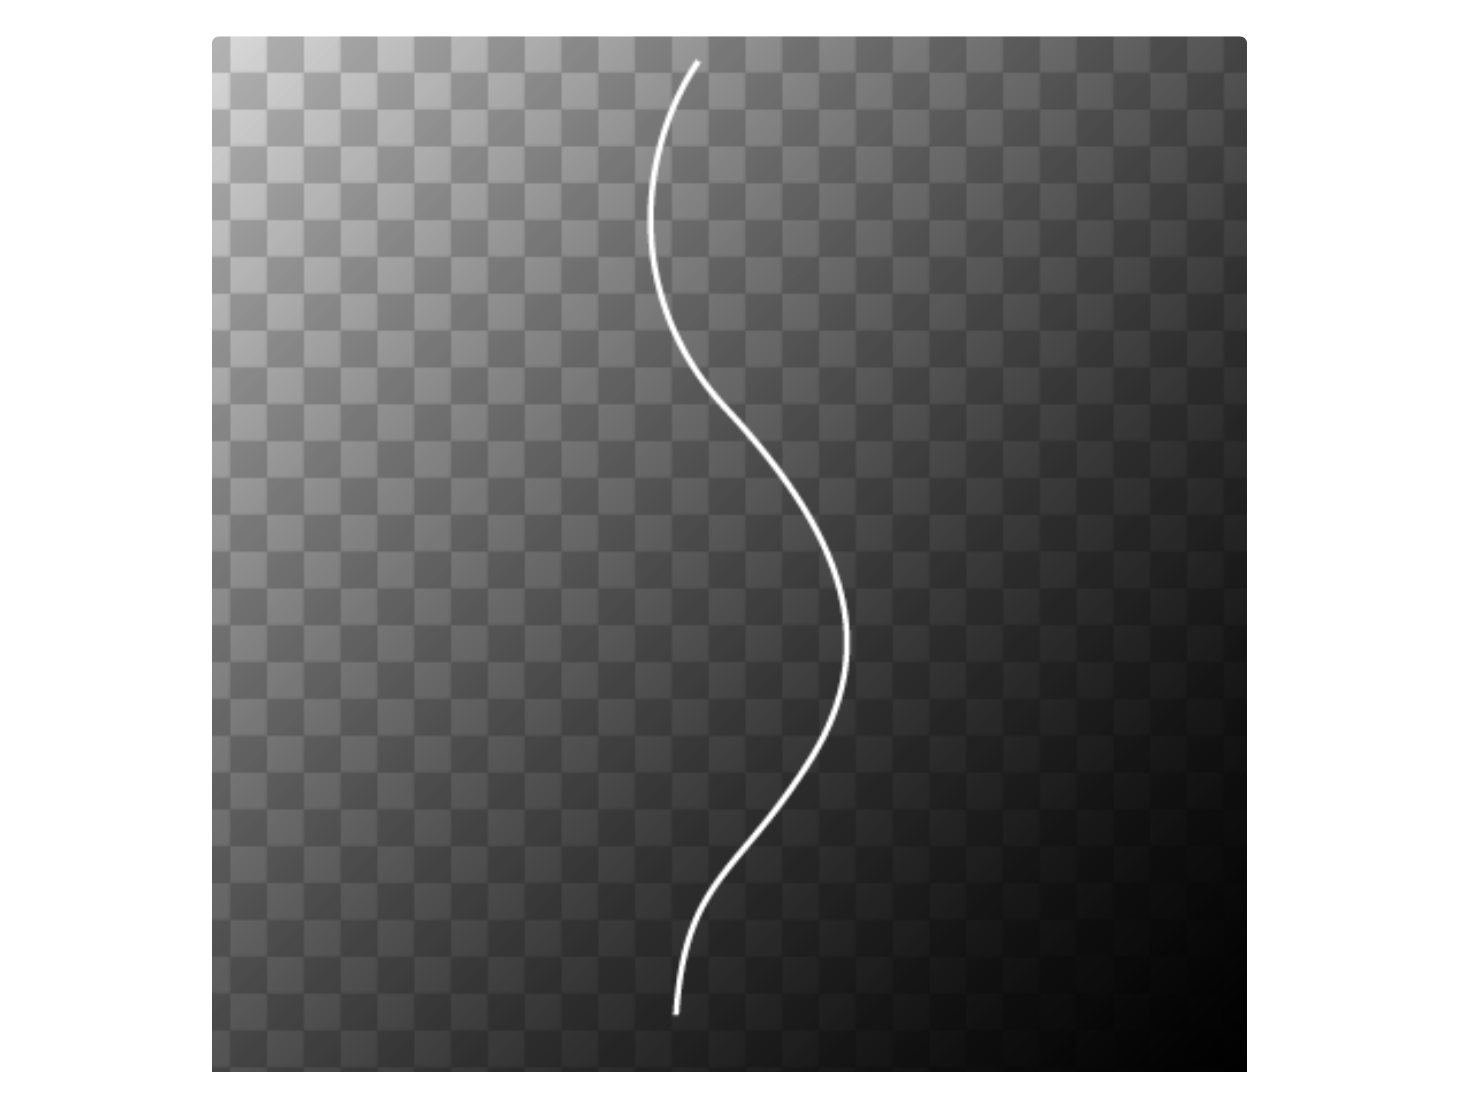
With the help of the Pen Tool or InkScribe Tool draw a wavy line, which volition friction match the management of the smoke wisp.
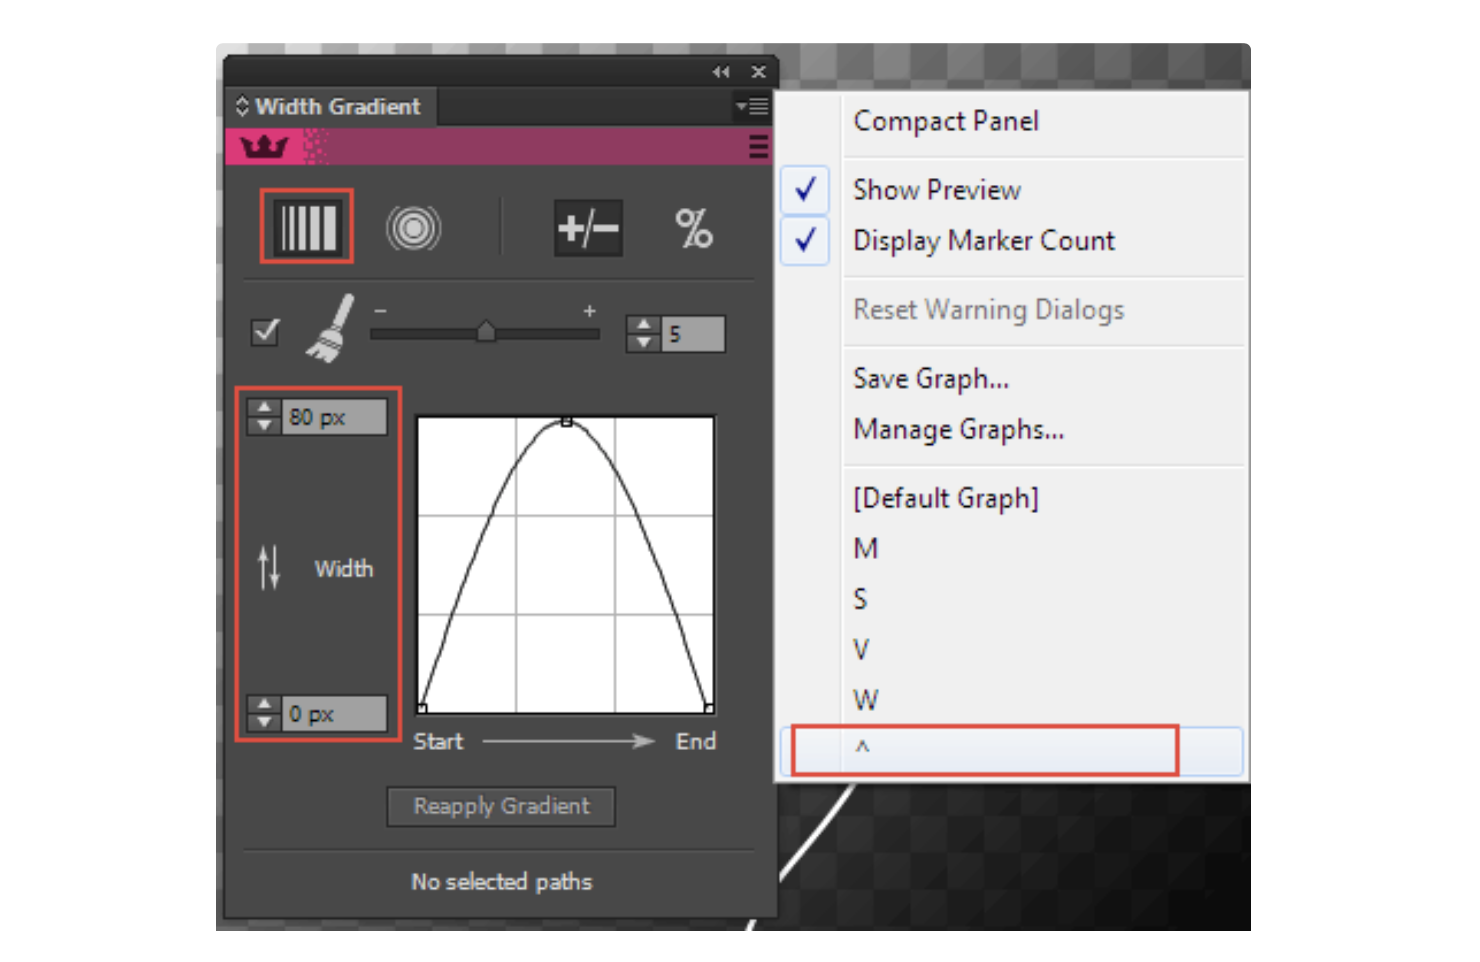
Now create the shape of the smoke using the WidthScribe plug-in. Open up the Width Gradient panel (Window > WidthScribe > Width Gradient Panel), and then select A-line Graph preset carte du jour panel, enable Linear fashion and set the minimum and maximum width.
Take Width Gradient Tool and draw the pointer tool from the start to the end point of the selected path, holding the mouse push button.
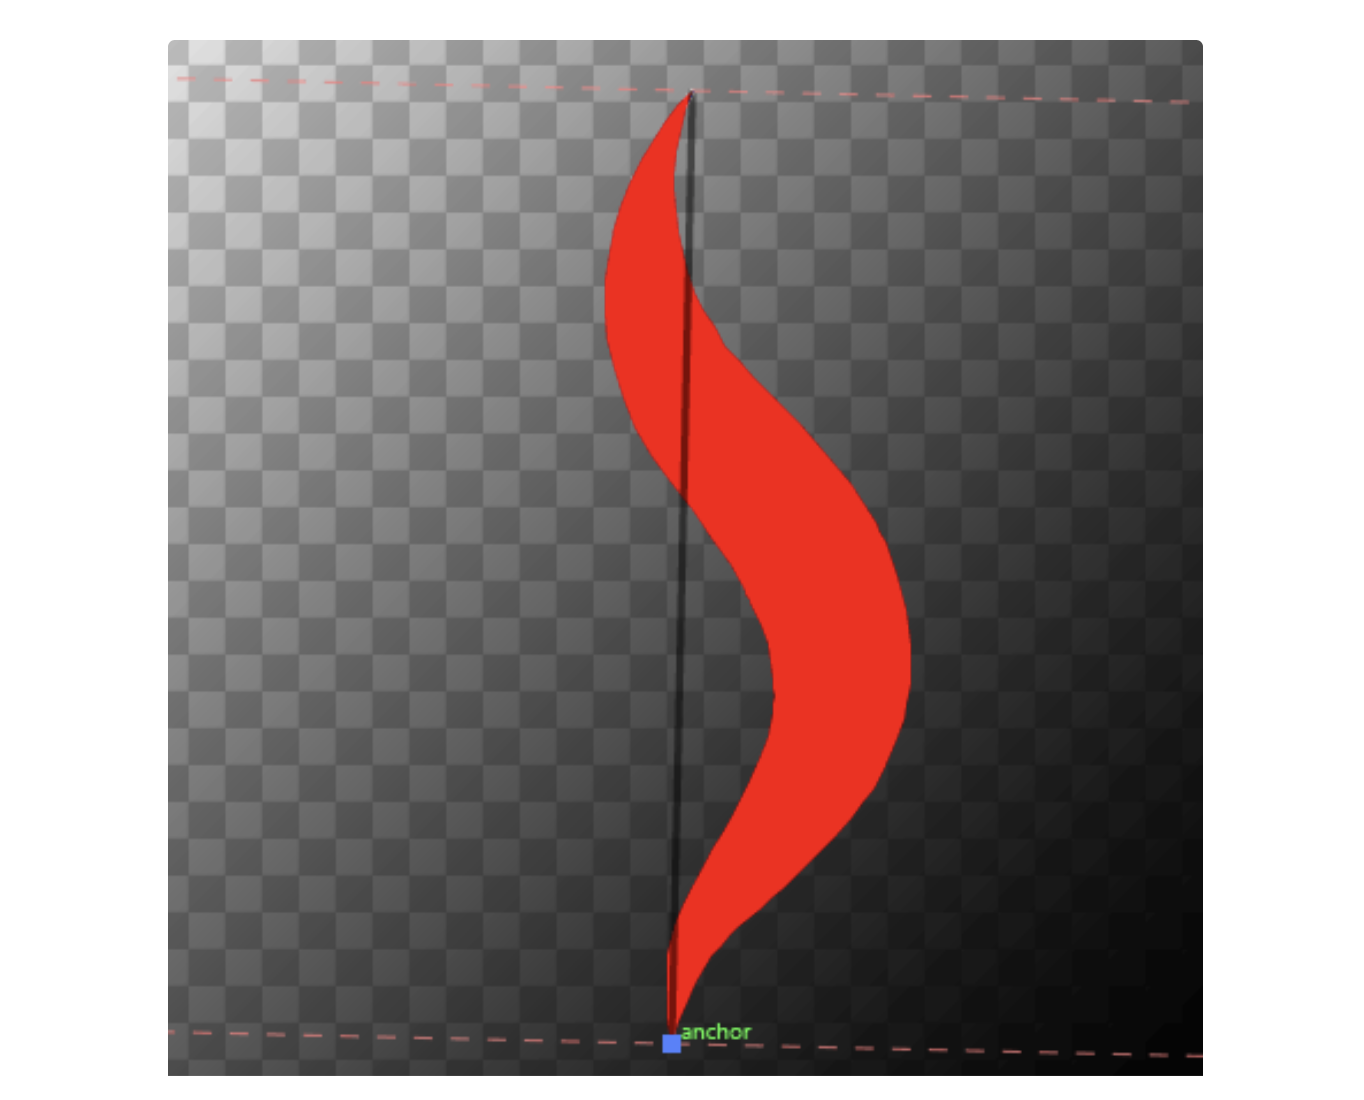
With this activeness we take quickly transformed a uniform path into variable width path of the shape that we demand.
Pace 3
Apply the Gradient Beyond Stroke to the path, which consists of ii blackness and one night greyness slider.
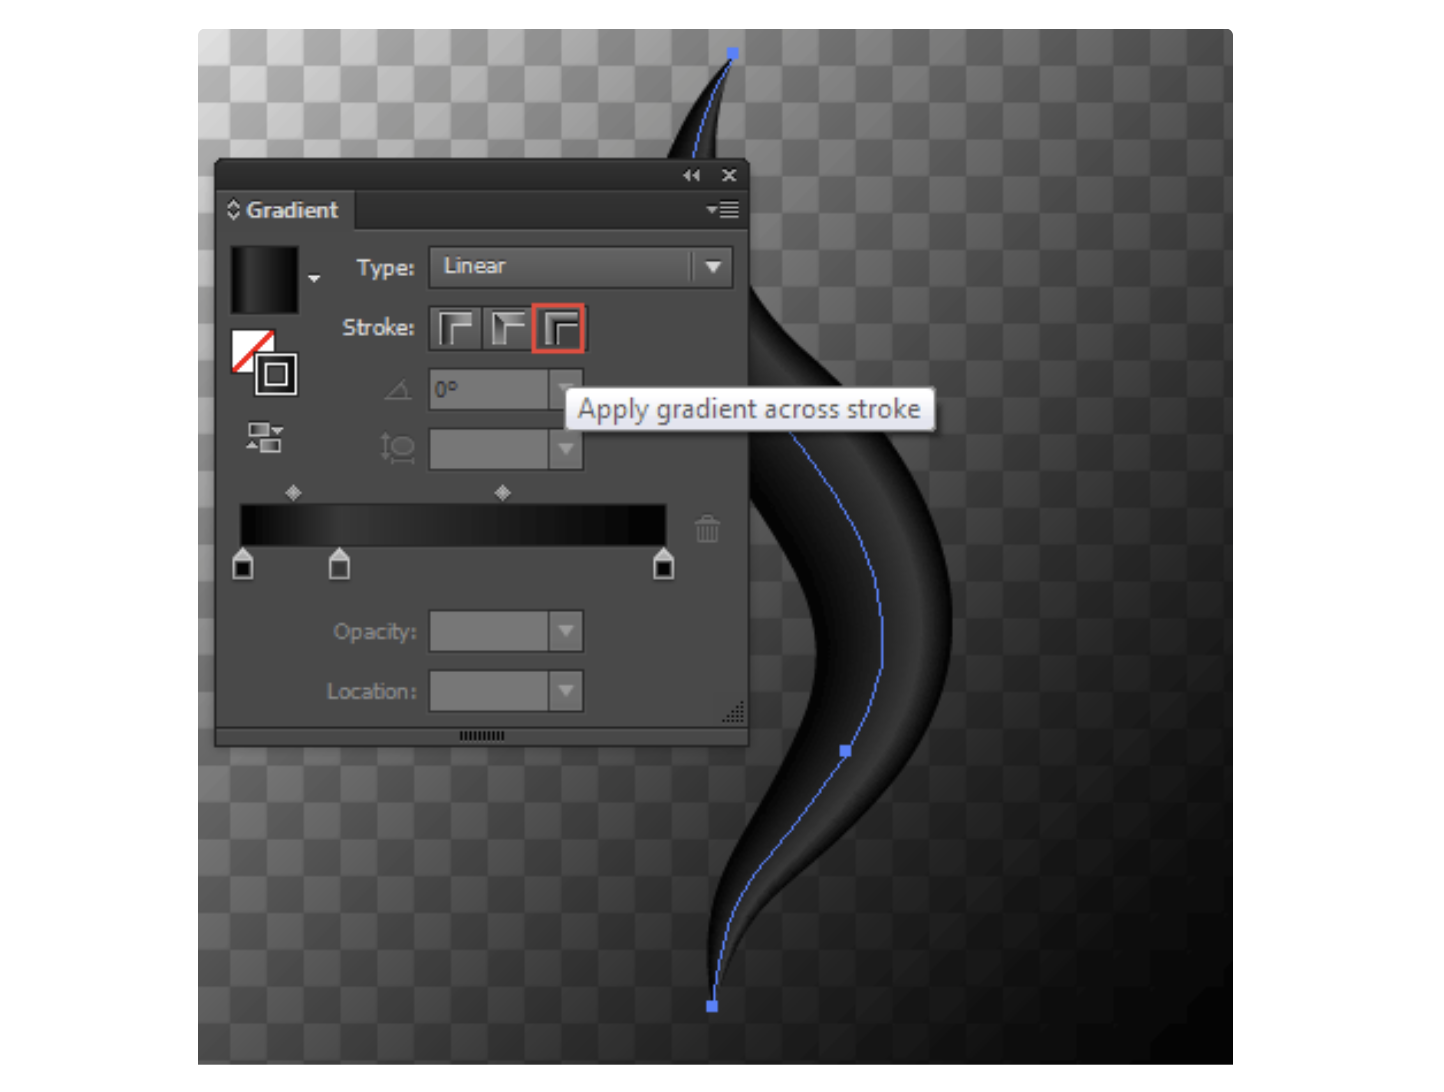
At present apply the Screen blending mode. The object has become semi-transparent.
Step iv
Now we tin continue working on the shape of the fume wisp in details. For these purposes information technology is user-friendly to use the Width Selector Tool (WidthScribe) and Width Selector panel (Window > WidthScribe > Width Selector Panel). Using these tools, we can apace and easily work with width markers: add, delete, move and set their precise values.
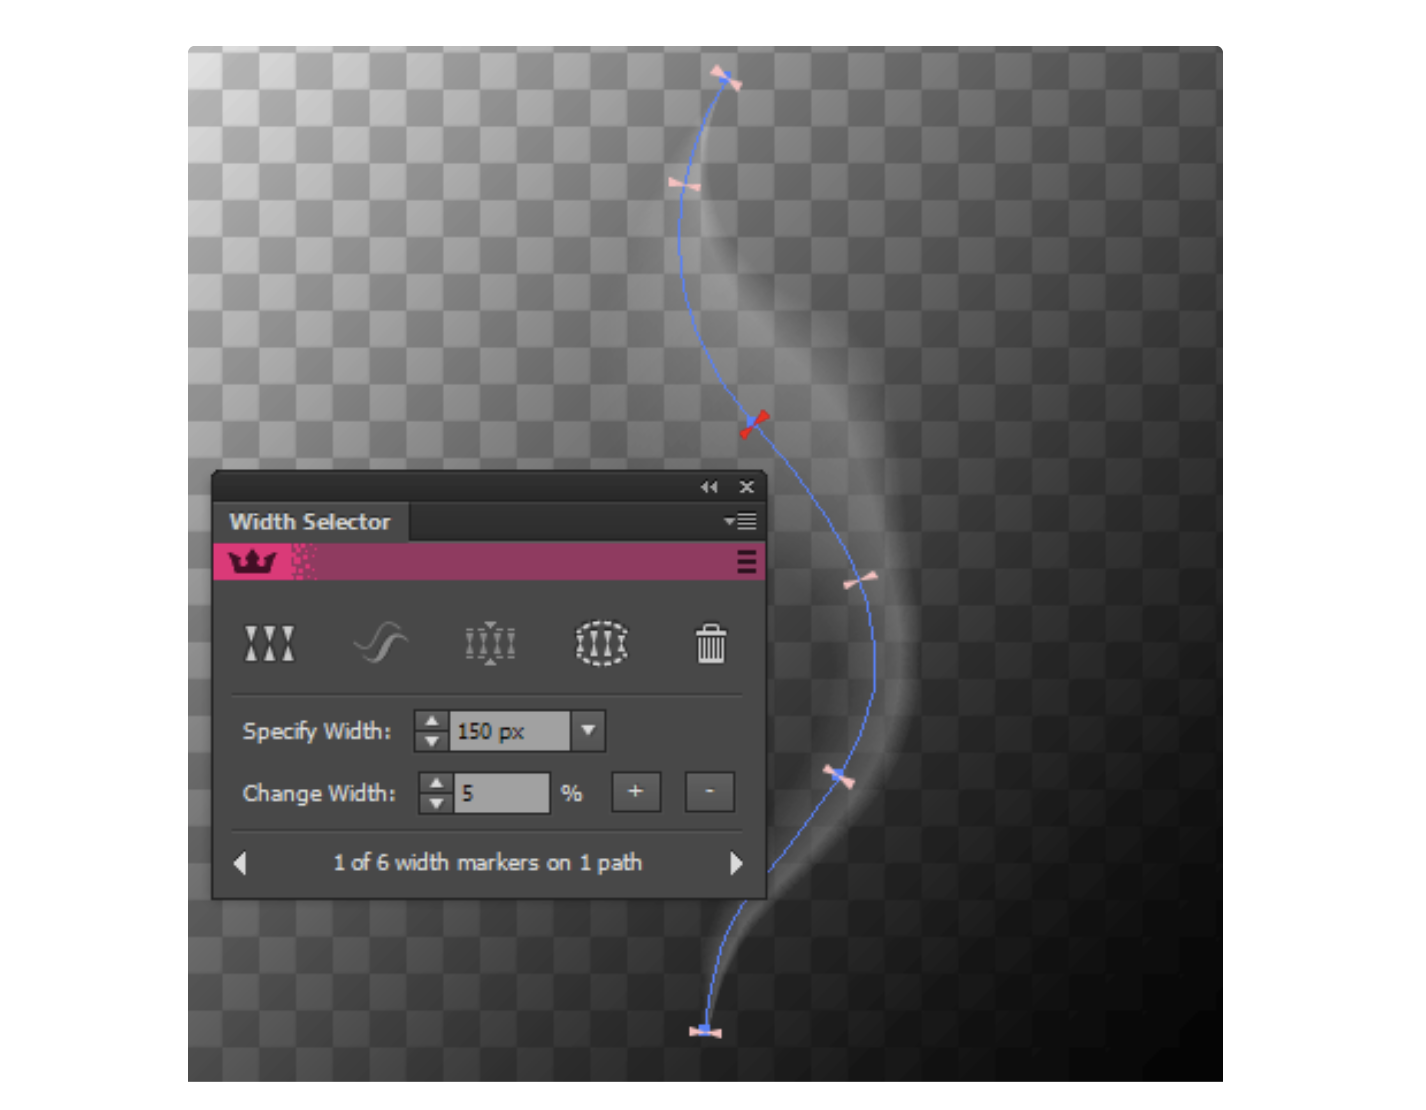
If you lot are satisfied with the shape of the path and its direction and there is no need in farther correction, you lot can continue to the next stride.
Step 5
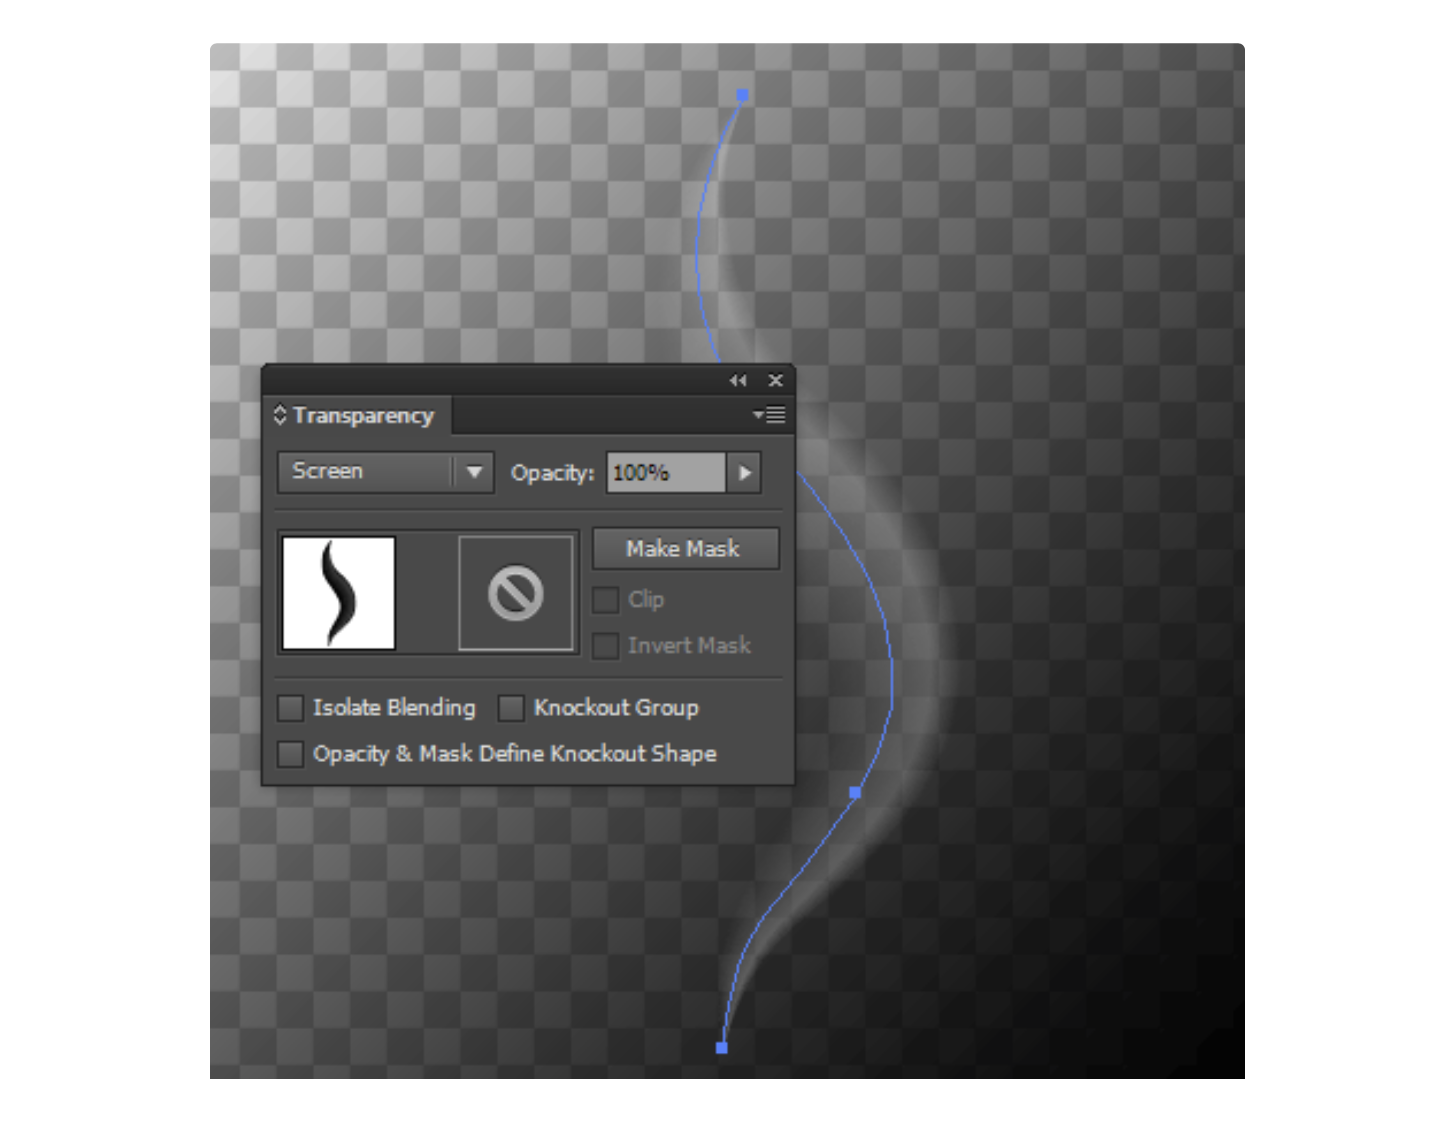
Fume wisp are often transparent in its start and end point. To achieve this effect duplicate the path (Cmd / Ctrl + C, Cmd / Ctrl + F), prepare the Normal blending mode. Then utilize Gradient Along Stroke, which consists of two black and one white colour.
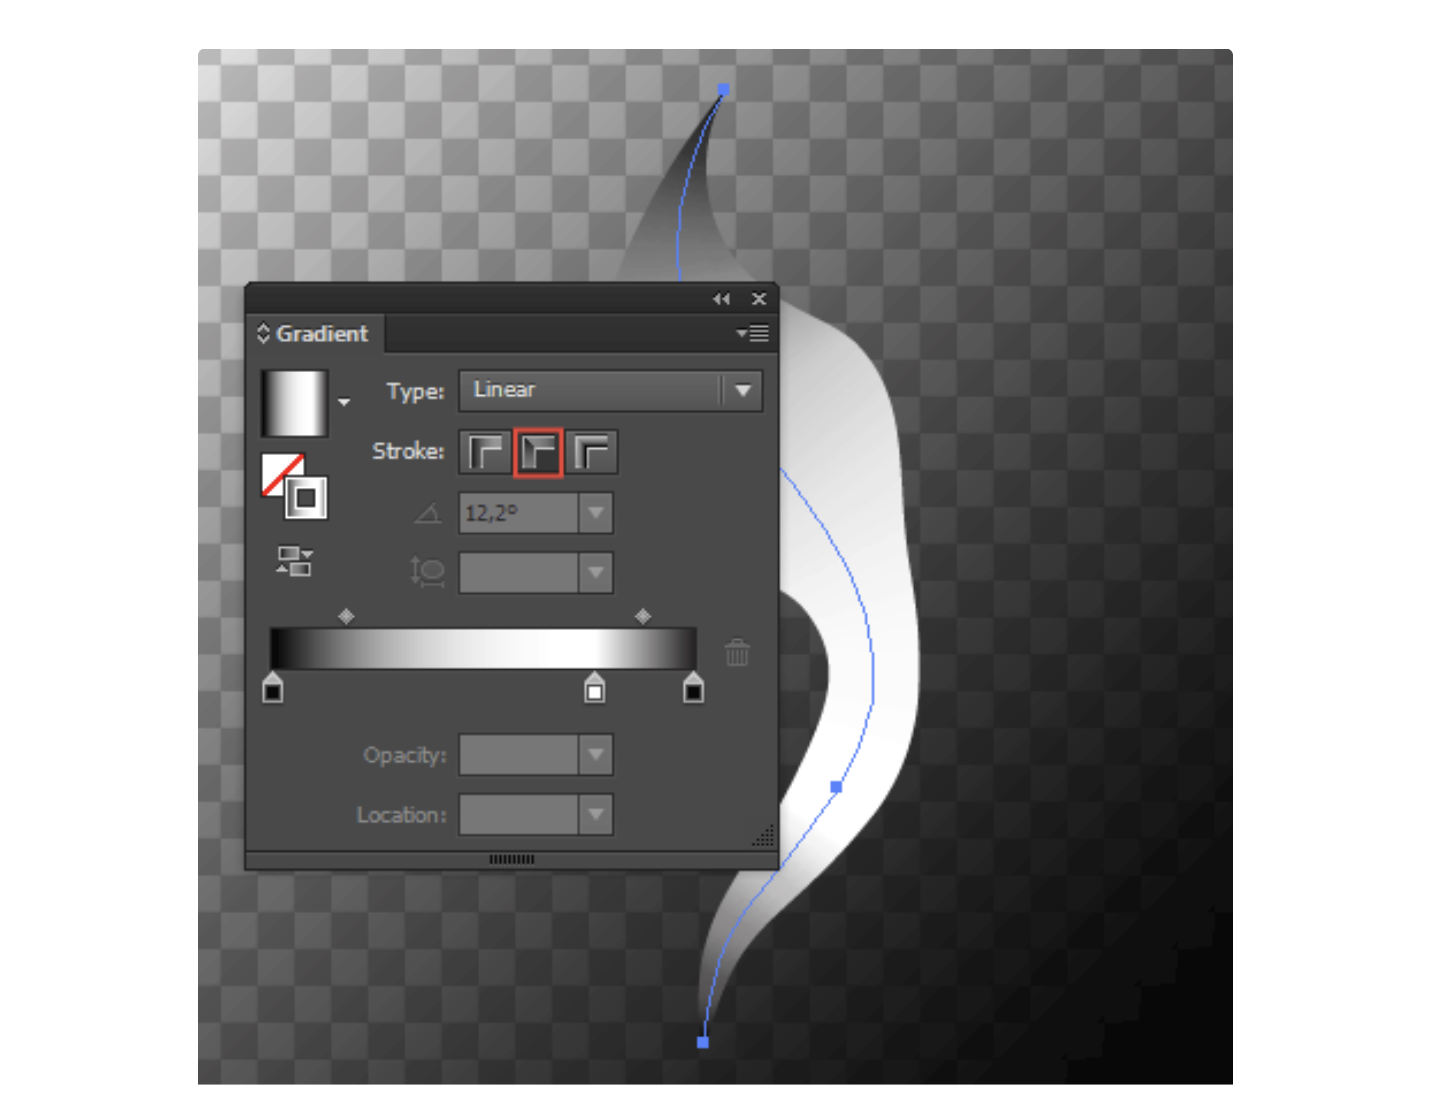
Select both paths and click on the Make Mask button in the Transparency console. The ends of the wisp are now transparent.

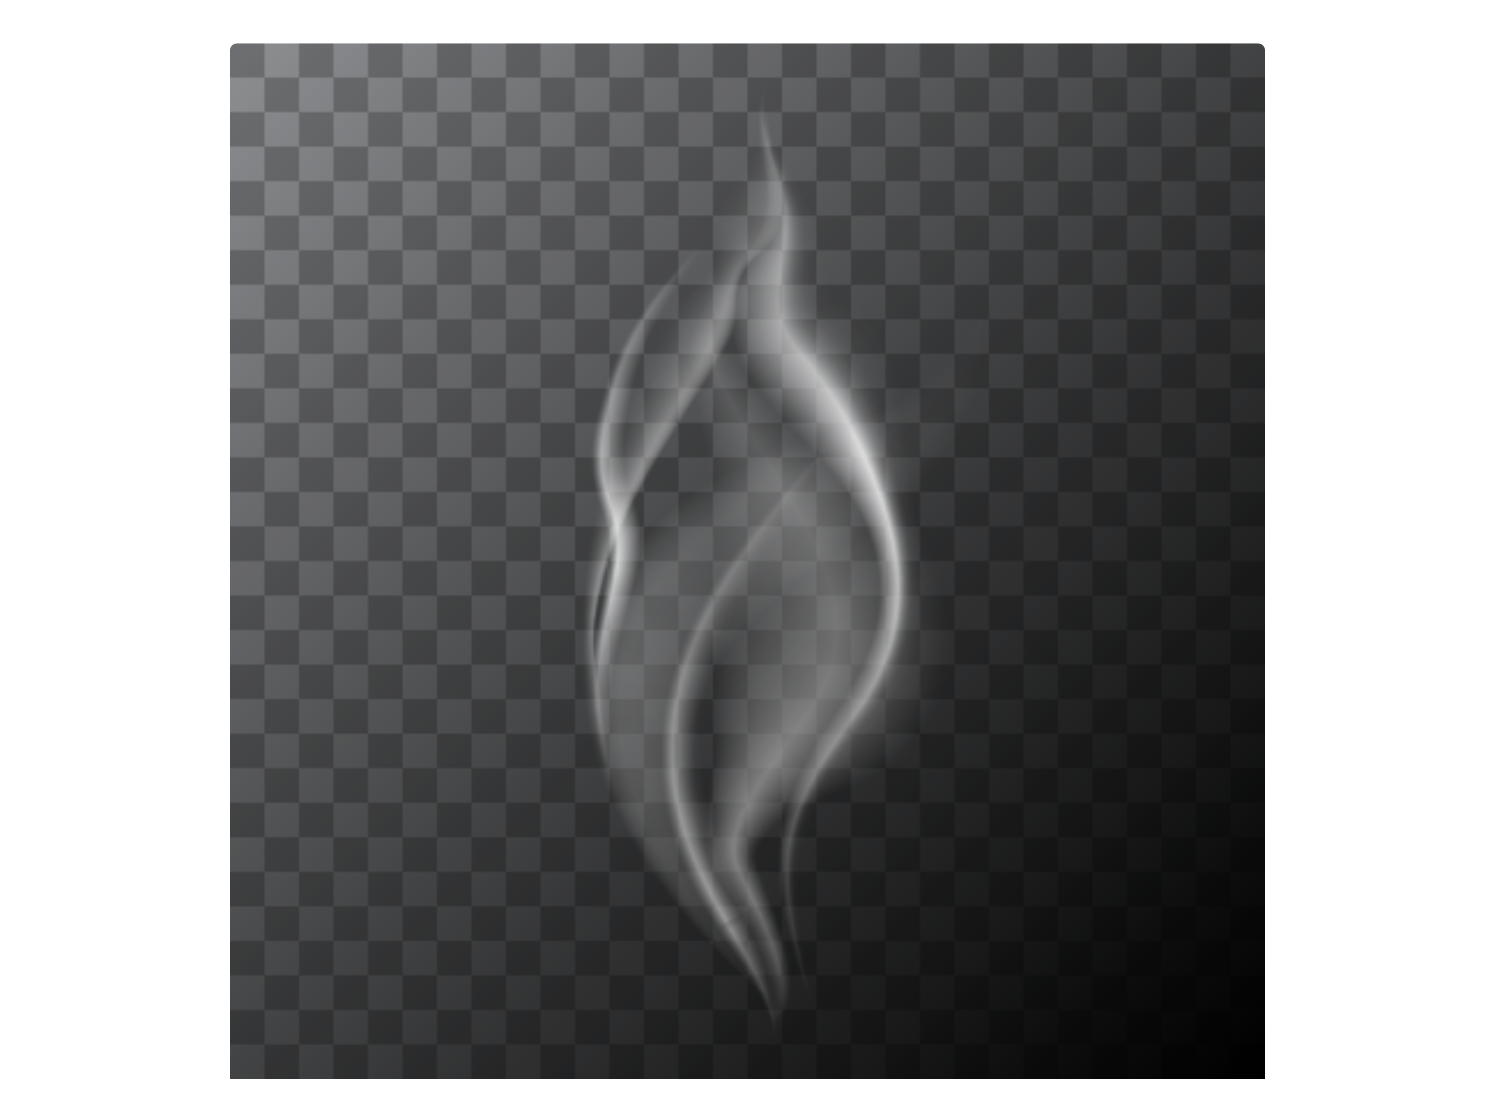
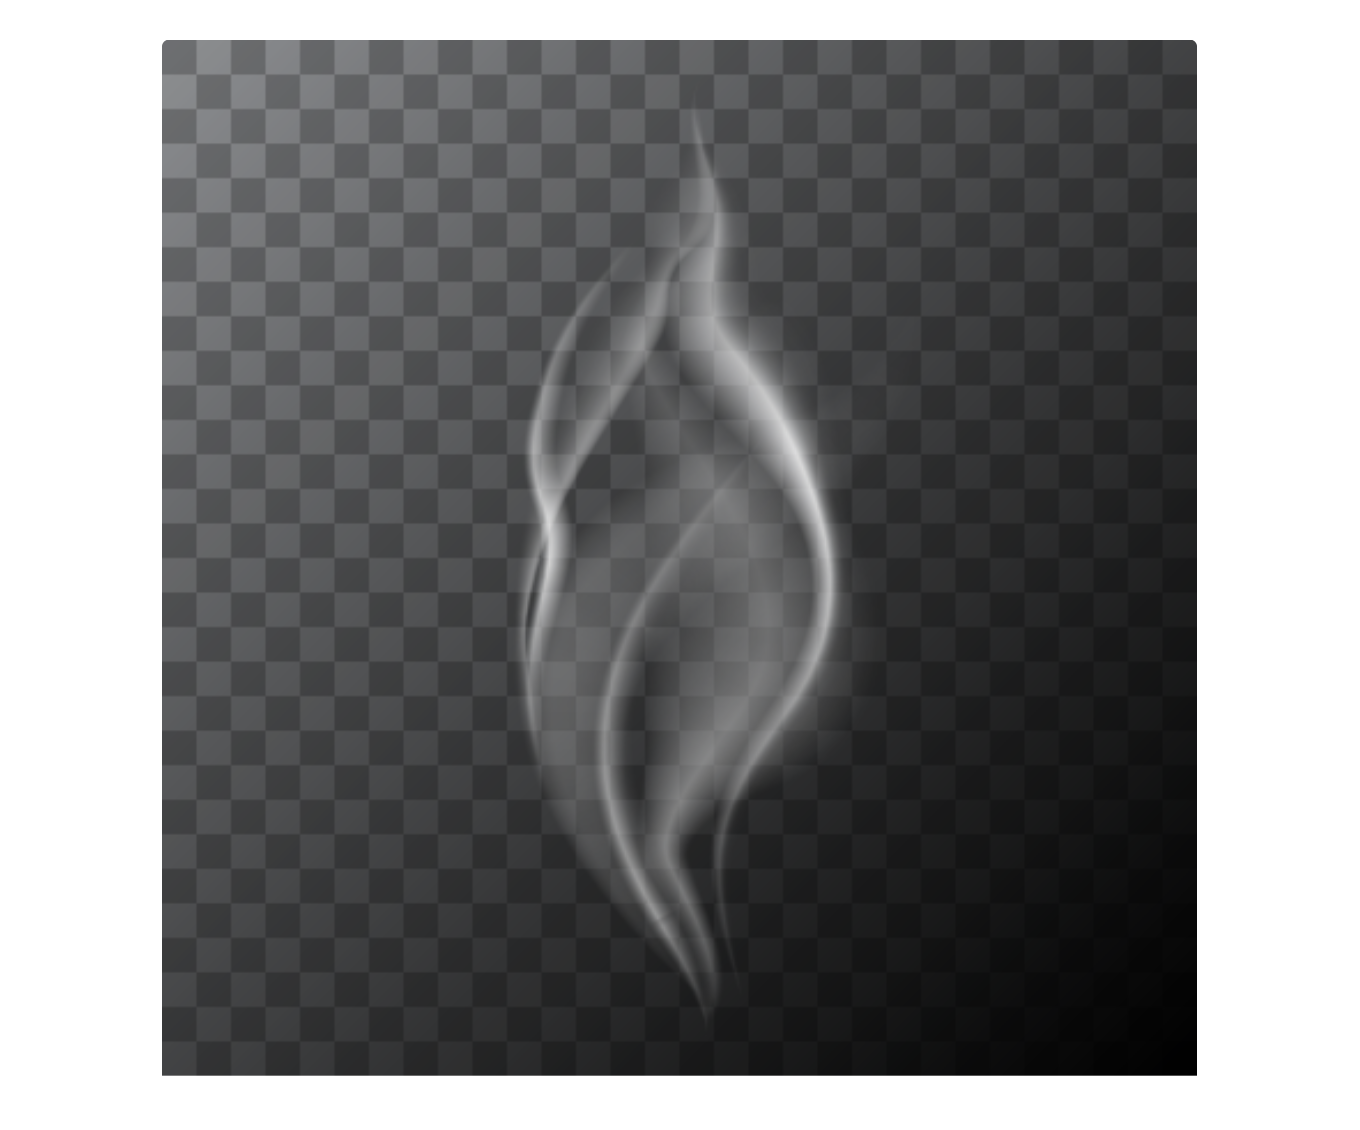
Combining work of the WidthScribe and Slope on Stroke feature, I got a vector smoke that you can see in the epitome below. The translucent backdrop of fume permit y'all to use it in whatever situation.

Source: https://astutegraphics.com/learn/tutorial/how-to-create-vector-smoke-using-widthscribe-in-adobe-illustrator
Posted by: cochranhaustrand.blogspot.com
0 Response to "How To Draw Smoke In Illustrator"
Post a Comment